Docs / Scripting Events
Scripting events allow you to control parts of your game based on interactions from the player. They can be used to connect scenes together, change variables, give dialogue to characters, and more.
Scripts can be added to scenes, actors, or triggers. Selecting one of these objects will update the World Editor to show the script of the selected object in the Editor Sidebar.
To start building a script, select an object and click the Add Event button in the Editor Sidebar to open the event menu. Select an event to add it to the script. The topmost event is the first event to be run for that script.
Adding Events
After clicking the Add Event button, a menu will appear to choose the event to add. If you start typing you can filter this list or you can scroll through it to find what you're looking for. Click an event or press the Enter key to add the highlighted event to your script.
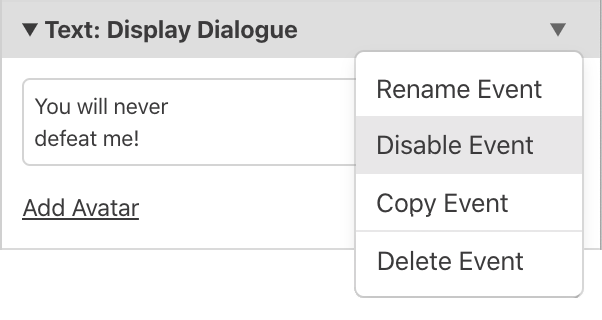
To copy an event, click the down arrow next to an event. All scripts have this same down arrow for copying/pasting. Clicking the down arrow on another event allows you to paste the clipboard event either before or after the selected one. You also have the option to paste the values from the first event into the second.
As a shortcut for pasting, you can press the Alt key to turn all Add Event buttons into Paste Event buttons.
Types of Scripts
There are multiple script tabs to choose from the Editor Sidebar depending on which object you have currently selected.
Scene Scripts
These scripts can be accessed in the Editor Sidebar by selecting a scene in your project.
On Init
This script will run once at the beginning of the Scene. The Scene On Init script is always run after the On Init script for Actors in the Scene.
On Player Hit
This script runs when the player is hit by an actor belonging to a collision group.
Actor Scripts
These scripts can be accessed in the Editor Sidebar by clicking an Actor in your project or using the Navigation list in each scene.
On Init
This script will run once at the beginning of the Scene. Actors in a Scene will always run their On Init script before their Scene's On Init script.
On Interact
Standing the Player next to an Actor and pressing the A button will cause the Player to “interact” with the Actor. Interacting with an Actor will begin this script. In Shoot ‘Em Up scenes, interacting can additionally be done by colliding with the Actor.
This script is often used for dialogue, using the “Text: Display Dialogue” event.
Enabling a collision group for an actor will convert this script to On Hit: Player, which looks for Player collision rather than Player interaction. This behaviour is identical to On Interact in Shoot ‘Em Up scenes.
On Hit
This script runs when the Actor is hit by another Actor or Projectile belonging to a collision group.
On Update
This script is run once every frame, and can only be added to non-player Actors.
Trigger Scripts
Trigger scripts only have an “On Trigger” script. The player must be inside the trigger to start this script. This is often used for creating doorways between scenes.
Event Glossary
Text Events
-
Text: Display Dialogue
Show a dialogue box with up to three lines of text, 18 characters per line (and a total of 52 characters), at the bottom of the game screen. This will likely be the most used script command for interacting with actors in your game.
When text is shown the dialogue box will slide up from the bottom of the screen and will slide down after it has been shown.


- Using the + button you can create a dialogue sequence which will only close after the last message has been displayed.
New in 1.2.0 - You can display the value of any variables in a text box by using the variable's identifier shown in the variable selector (e.g.
$L0$for local variable 0 and$182$for global variable 182). - You can optionally display an avatar image on the left hand side of the dialogue box by clicking Add Avatar and selecting an image to use. You are able to pick any sprite within your game that contains only a single frame (
16pxx16px). Setting an avatar will reduce the amount of characters per line available to 16 on all lines.
- Using the + button you can create a dialogue sequence which will only close after the last message has been displayed.
-
Text: Display Multiple Choice
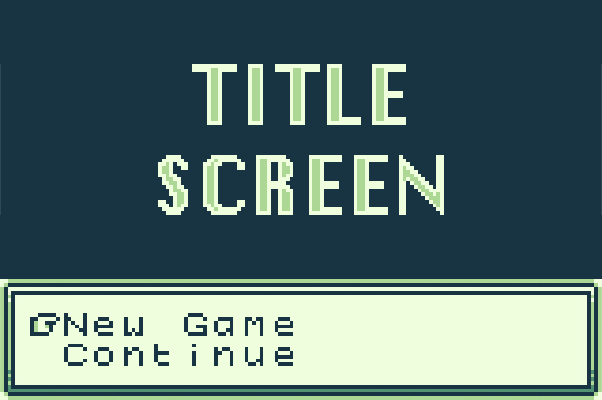
Present two options to player allowing them to make a choice, will set the specified variable to true if the first option is chosen and to false if the second option is chosen.

-
Text: Display Menu
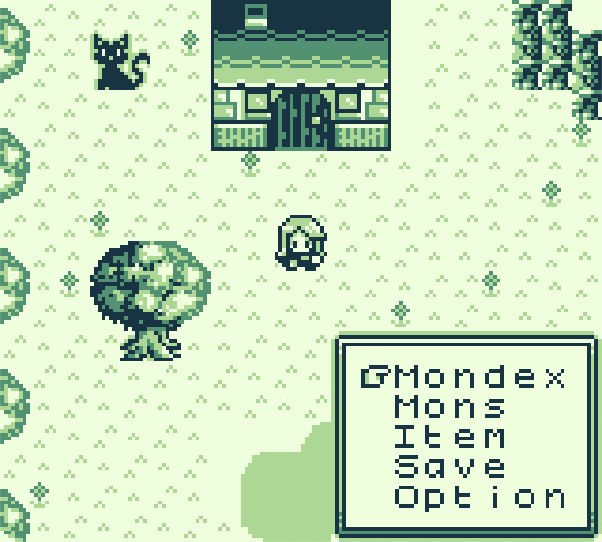
Display a menu of multiple options and set the specified variable to the value of the chosen option. Each menu item has a maximum length of6characters.
Multiple layouts are provided,Menu(shown below) displays as a single column on the right hand side of the game screen andDialoguedisplays a full width dialogue box with two columns. You can optionally set theBbutton to close the menu setting the variable to0and can also make the last menu item return0when selected.

- Text: Set Animation Speed
Set the speed that dialogue boxes appear and disappear and how fast text appears within the box.
Scene Events
-
Scene: Change Scene
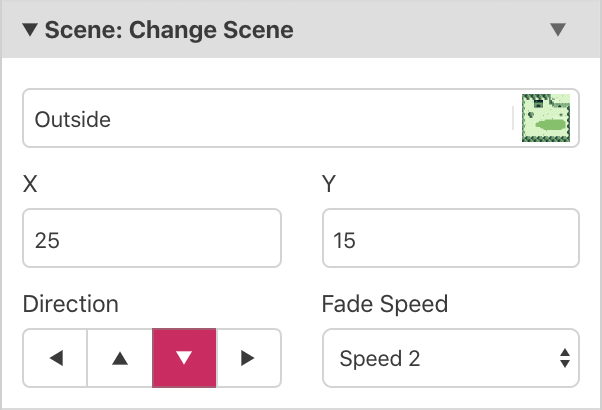
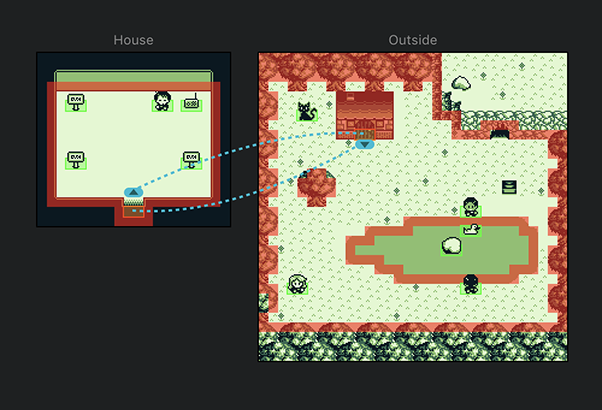
Transition to a new scene with player at a specified position and direction. A connection line will be drawn between the source of the event and the destination scene with a icon appearing at the destination position. It's possible to drag this icon around and between scenes to modify the event.
-
Scene: Store Current On Stack
Store the current scene and player state on to the scene stack, this allows you to return to this exact location later using the Scene Restore events. A common use of this event would be to include in a script just before a Change Scene event to open a menu scene, in the menu scene you could wait for the player to press a close button and then use the Restore Previous From Stack event to return to where the player opened the menu.

-
Scene: Restore Previous From Stack
Transition to the last stored scene from the scene stack using the specified fade speed. The previous scene will then be removed from the stack so the next time this event is used it will transition to the scene before that.

-
Scene: Restore First From Stack
Transition the very first scene stored on the stack, for instance if you had multiple levels of menu scenes you could use this to imediately return to the game scene. This event will cause the scene stack to become empty.

-
Scene: Empty Scene Stack
Clears the scene stack so that no previous scenes can be restored.

Variable Events
Your game has 512 variables that can be shared across all the scripts in your game. New in 1.2.0 Additionally every Actor, Trigger and Scene has 4 local variables that can only be accessed by that specific entity. Local variables are useful for keeping track of state specific to an entity such as how many times you have spoken to a character or if a treasure chest is open or closed.
-
Variable: Set To ‘True’
Set the value of the specified variable to true.

-
Variable: Set To ‘False’
Set the value of the specified variable to false.

-
Variable: Set To Value
Set the specified variable to a defined value.

-
Variable: Increment By 1
Increase the value of the specified value by one, up to a maximum of 255. If the value was previously false it will now be 1 (and also true), if it was previously true it will now be 2.

-
Variable: Decrement By 1
Decrease the value of the specified value by one, down to a minimum of 0. If the value was previously true it will now be 0 (and also false).

-
Variable: Math Functions
Allows you to perform various maths functions on a variable to add/subtract/multiply/divide/modulus a value/variable/random number.
Note: Variables have max values of 255 and will wrap if increased above 255 or below 0.

-
Variable: Set Flags
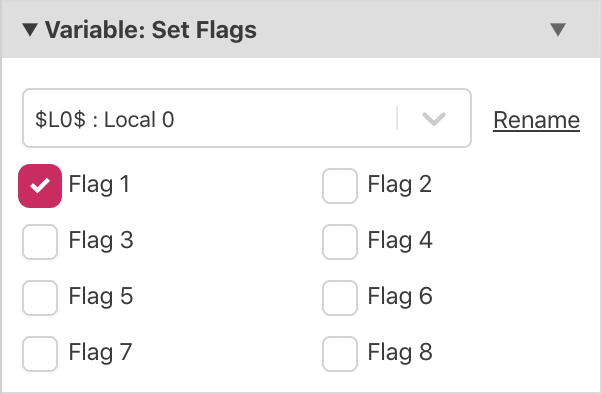
Set the value of a variable by enabling individual bits of the 8-bit number. Allows 8 true/false values to be stored within a single variable. Setting the flags will replace the previous value of the variable.
-
Variable: Add Flags
Set selected flags to true on a variable. All unselected flags will keep their previous value.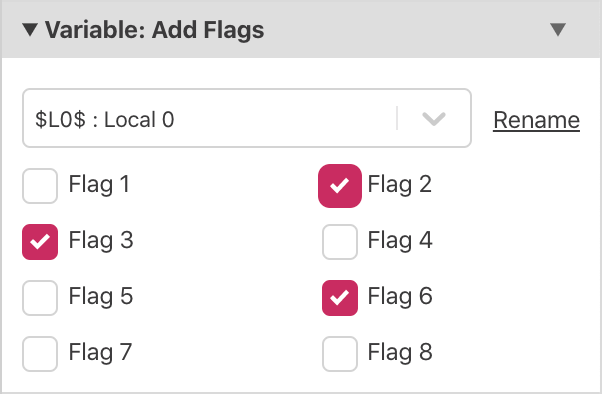
-
Variable: Clear Flags
Set selected flags to false on a variable. All unselected flags will keep their previous value.
-
Variable: Reset All Variables To ‘False’
Reset all variables used by your project back to false.

Control Flow Events
-
If Variable Is ‘True’
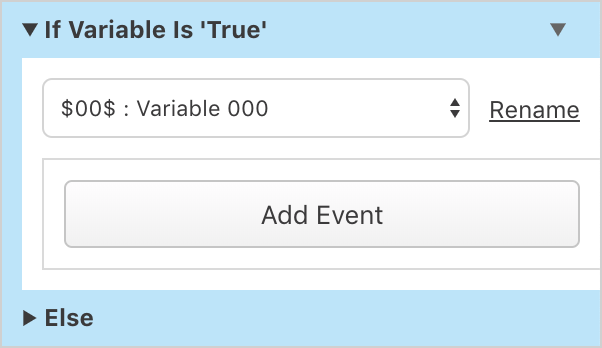
Conditionally execute part of the script if the specified variable is set to true.
-
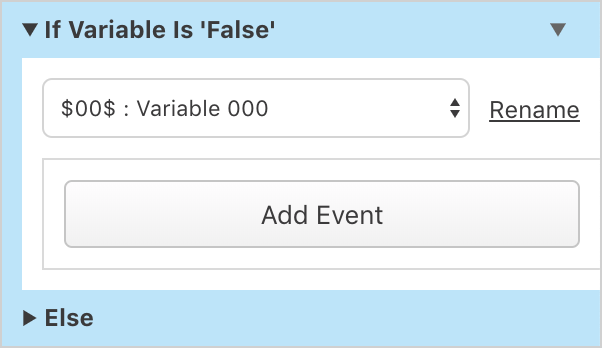
If Variable Is ‘False’
Conditionally execute part of the script if the specified variable is false.
-
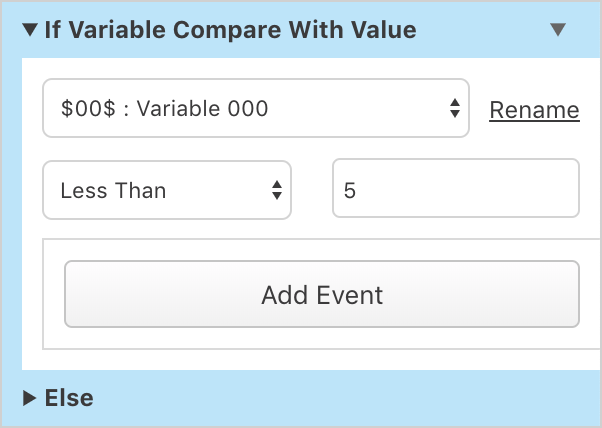
If Variable Compare With Value
Conditionally execute part of the script if the specified variable matches a rule, such as “Equal To”, “Greater Than” or “Less Than” against a value.
-
If Variable Compare With Variable
Conditionally execute part of the script if the specified variable matches a rule, such as “Equal To”, “Greater Than” or “Less Than” against a second variable.

-
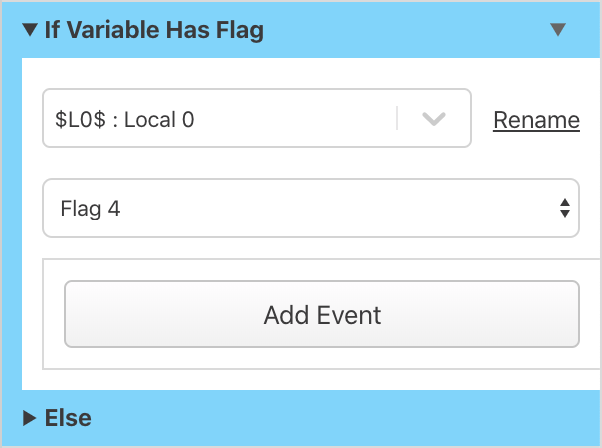
If Variable Has Flag
Conditionally execute part of the script if the specified variable has the chosen flag set as true.
-
If Joypad Input Pressed
Conditionally execute part of the script if the specified joypad input is currently pressed. Will not wait for user input so use directly after a Joypad Input: Pause Script Until Pressed event if waiting is required. Event will only execute once, if you wish to run a script every time a button is pressed use Joypad Input: Attach Script To Button instead.
-
If Actor At Position
Conditionally execute part of the script if the specified actor is at a certain position in the scene.

-
If Actor Facing Direction
Conditionally execute part of the script if the specified actor is facing a certain direction.

-
If Game Data Saved
Conditionally execute part of the script if there is a saved game available.

-
Switch
Conditionally execute from multiple options depending on the value of the specified variable. First choose how many options you want to compare the variable against, then set the values to compare and what scripts to execute when the value is matched.

-
Loop Forever
Execute part of the script in a loop forever. Remember to break out of the loop otherwise the player will become stuck at this point. You can use a Stop Script or Change Scene event to stop the loop.

-
Label: Define / Label: Goto
Define markers in your script using Label: Define giving the label a name and jump to markers using Label: Goto.
Note: The name must be identical for the define/goto event pair to work. Use with care!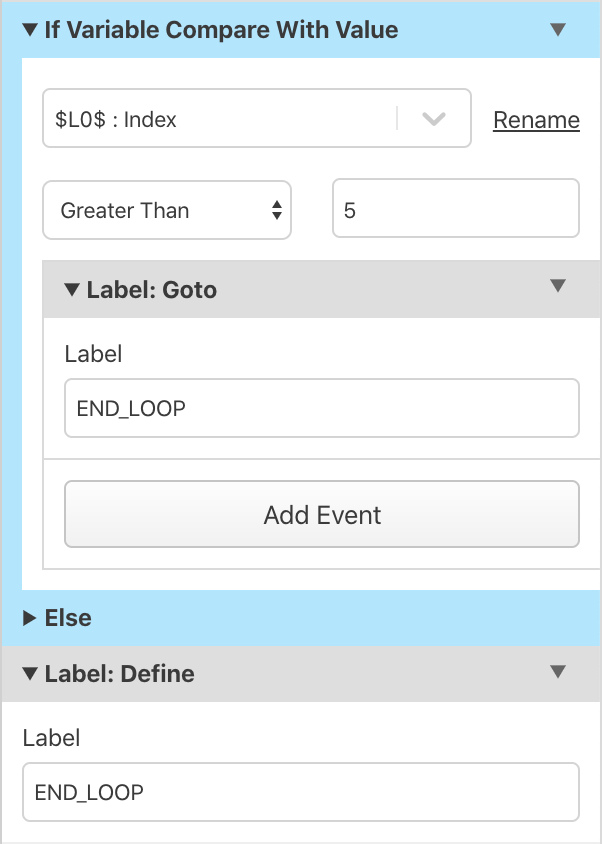
-
Event Group
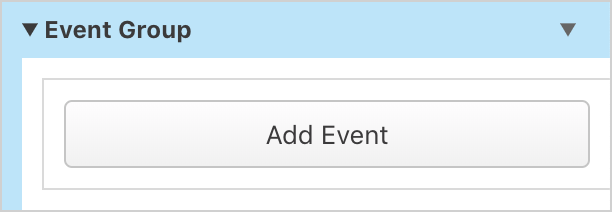
Provides no in game functionality but allows you to group a sequence of events together and give them a label (using the Rename Event option on the event menu) and collapse the events into a single block.
-
Script: Stop
Stops the current script from running.

-
Disable Else
If you don't require an Else branch in any of your control flow events you can now disable it by selecting Disable Else from the event dropdown menu. The same menu can be used to restore an Else branch if needed at a later time.
Camera Events
-
Camera: Move To
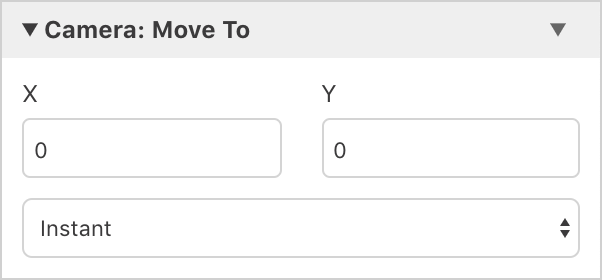
Move the camera to a specifed position in the scene.
-
Camera: Lock To Player
Move the camera back to focusing on the player, locking into position when the player moves.

-
Camera: Shake
Shake camera effect for up to 10 seconds.

Screen Events
-
Screen: Fade In
Fade the scene to a white screen.

-
Screen: Fade Out
Fade the scene in from a white screen.

Actor Events
-
Actor: Set Direction
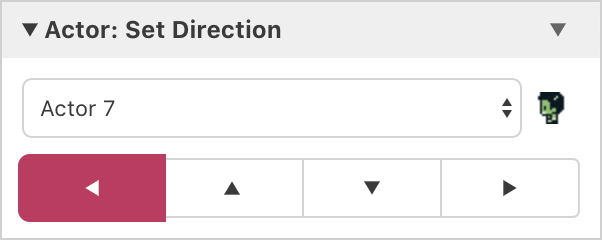
Set the facing direction of the specified actor.

-
Actor: Set Direction Using Variable
Set the facing direction of the specified actor from the value of a variable.
Direction Value Down 1 Right 2 Up 3 Left 4 -
Actor: Set Position
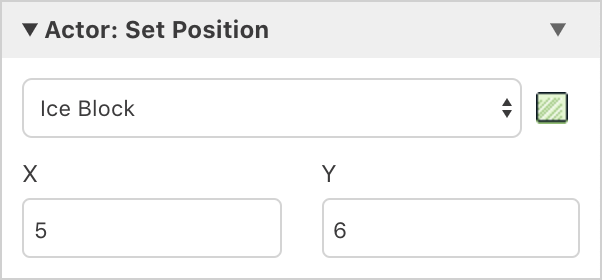
Set the position in the scene of the specified actor.
-
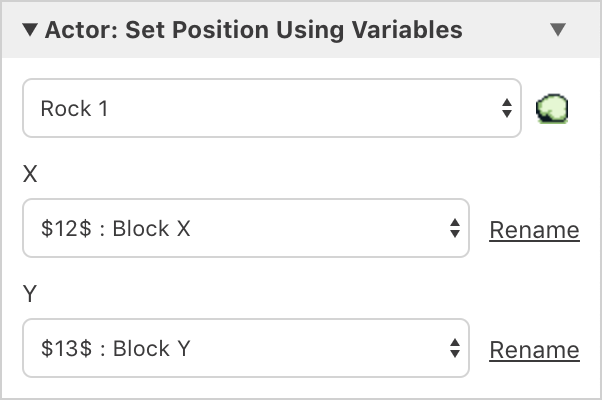
Actor: Set Position Using Variables
Set the position in the scene of the specified actor from the values of two variables.
-
Actor: Set Relative Position
Set the position in the scene of the specified actor relative to their current position.

-
Actor: Move To
Make the actor walk to a specified position in the scene. Actor will ignore all collisions along path so combine multiple of these events if you need to specify an exact path avoiding obstacles in the scene.

-
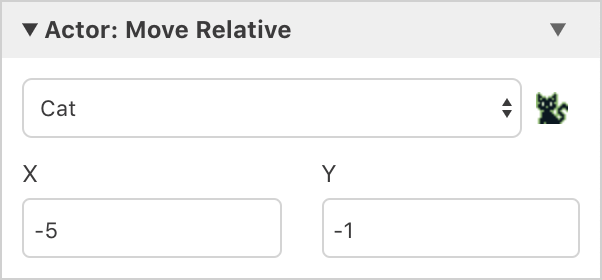
Actor: Move Relative
Make the actor walk to a position relative to their current position.
-
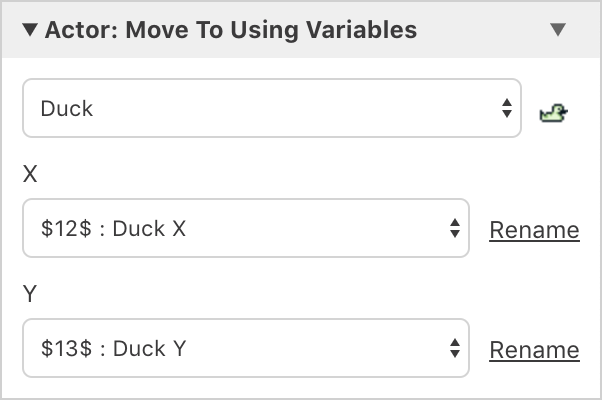
Actor: Move To Using Variables
Make the actor walk to a position from the values of two variables.
-
Actor: Store Position In Variables
Store the current position of an actor into two variables.

-
Actor: Store Direction In Variable
Store the current direction of an actor into a variable.
Direction Value Down 1 Right 2 Up 3 Left 4 -
Actor: Push Away From Player
Push an actor in the direction the player is currently facing. By default pushes by one tile, but can optionally slide until a collision occurs.

-
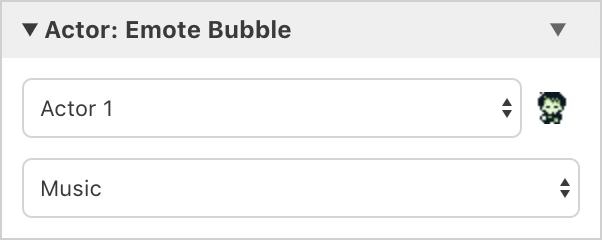
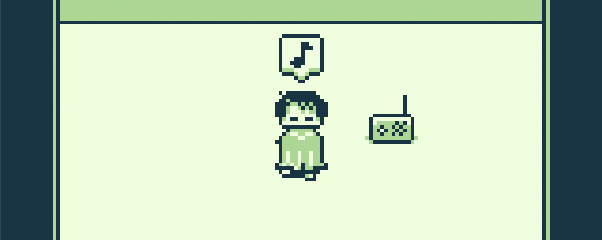
Actor: Emote Bubble
Display an emote bubble above the specified actor from one of Shock, Question, Love, Pause, Anger, Sweat, Music and Sleep. You can change the graphics used for these bubbles by editing the UI Elements of your game.
-
Actor: Set Animation Frame
Set the current animation frame of the specified actor.

-
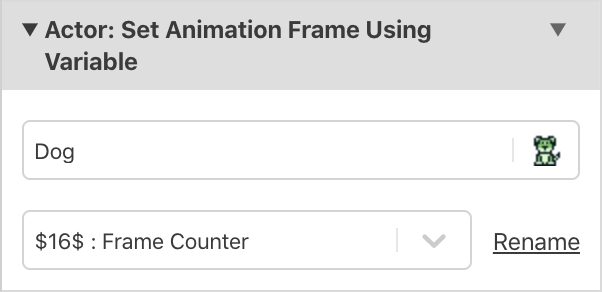
Actor: Set Animation Frame Using Variable
Set the current animation frame of the specified actor to the value of a variable.
-
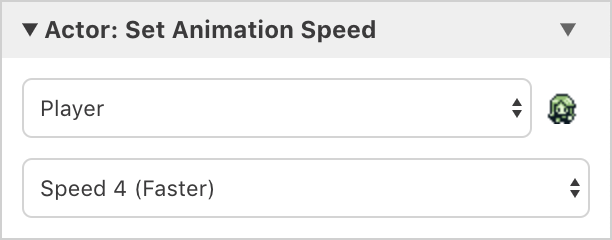
Actor: Set Animation Speed
Set the animation speed of the specified actor.
-
Actor: Set Movement Speed
Set the movement speed of the specified actor.

-
Actor: Set Player Sprite Sheet
Change the player sprite sheet from the default defined in the Project Editor. Changes to the player sprite sheet will persist between scene transitions so make sure to change it back if the change was supposed to be temporary.

-
Actor: Collisions Disable
Prevent collisions from affecting the selected actor. If a scene actor is selected then the player will be able to walk through them, if the player is selected then you will be able to walk through all actors and collisions in the scene.
Note: While collisions are disabled it is still posible to interact with the actor.

-
Actor: Collisions Enable
Reenable collisions on the selected actor.

-
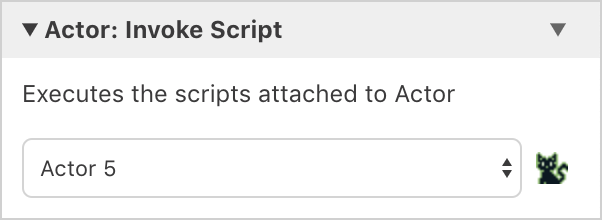
Actor: Invoke Script
Call the script on another actor in the scene as if the player had interacted with that actor.
-
Actor: Hide
Hide an actor so it is no longer visible. Hidden actors will no longer cause collisions and will not be able to be interacted with. You can hide the player on a Scene Start Script to make menu and title screens.

-
Actor: Show
Unhide a previously hidden actor.

Sprite Events
-
Sprites: Hide All
Hide all sprites in scene. Can be useful to create cutscenes where the player should not be visible by adding to a scene's starting script.

-
Sprites: Show All
Show all sprites that were previously hidden.

Overlay Events
-
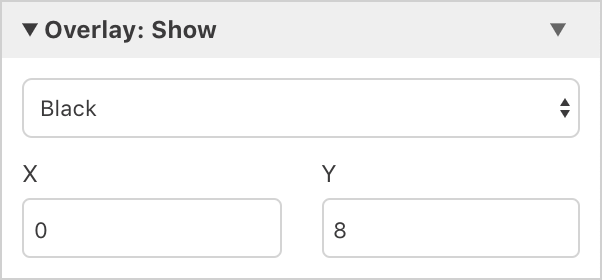
Overlay: Show
Show either a black or white window over the top of the current game screen. Can be used to obscure and then reveal parts of the scene background for example on the sample project logo screen.
-
Overlay: Hide
Hides the screen overlay.

-
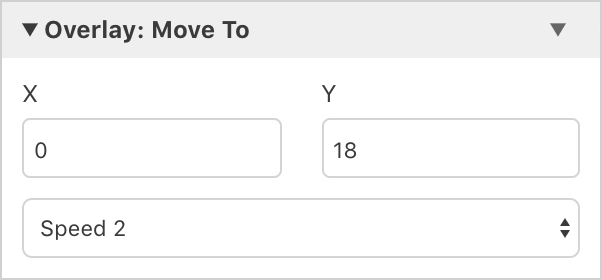
Overlay: Move To
Moves the overlay to a new position on the screen.
Input Events
-
Joypad Input: Pause Script Until Pressed
Pauses the script until one of the specified joypad inputs are pressed.

-
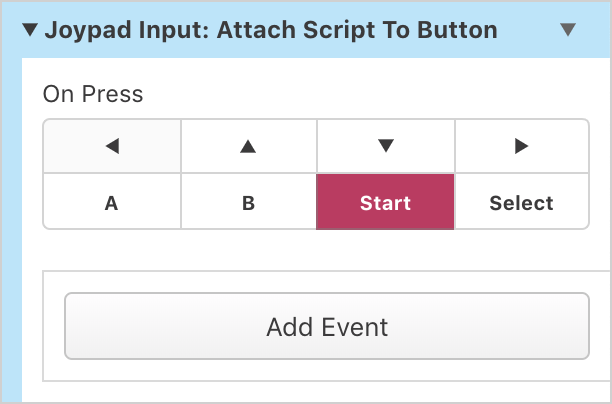
Joypad Input: Attach Script To Button
Execute the specified script any time a joypad input button is pressed. If you attach scripts to a direction button or the A button the scripts will override the default game actions.
-
Joypad Input: Remove Attached Script
Remove an attached script from a joypad input button restoring the default functionality of the button.

Music Events
-
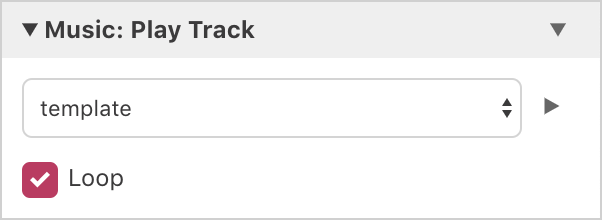
Music: Play Track
Plays a music .mod file, optionally looping the file when finished. If you play a new song while another song is playing, the old song will stop automatically.
-
Music: Stop
Stops any currently playing music. Put this before a Music: Play Track event to restart the same song from the beginning.

Sound Events
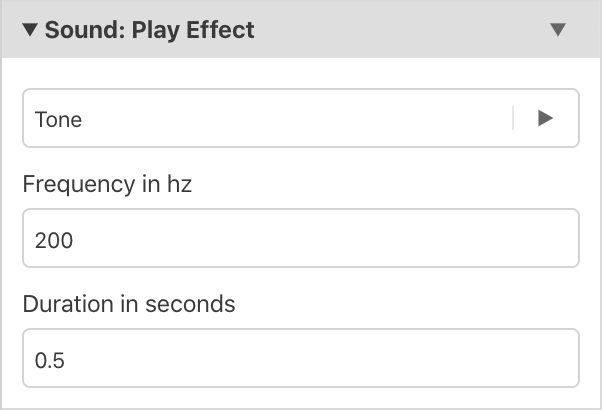
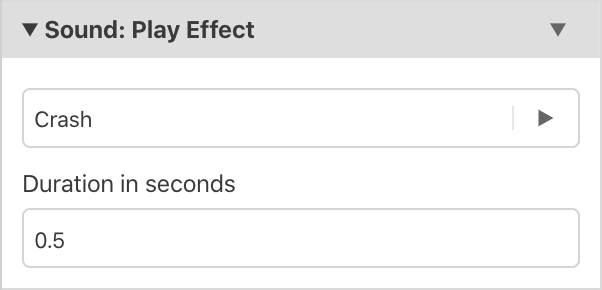
- Sound: Play Effect
Play a sound effect, choose from playing a beep with a given pitch, a tone with a given frequency or cymbal crash. Using Custom Events you can combine multiple effects into a single reusable event to make jingles.

Timing Events
-
Wait
Pause script for up to 10 seconds.

-
Timer: Set Timer Script
Execute the specified script repeatedly after a time interval. The script will keep running in the background until a Disable Timer Script event is called or the scene is changed using a Change Scene event.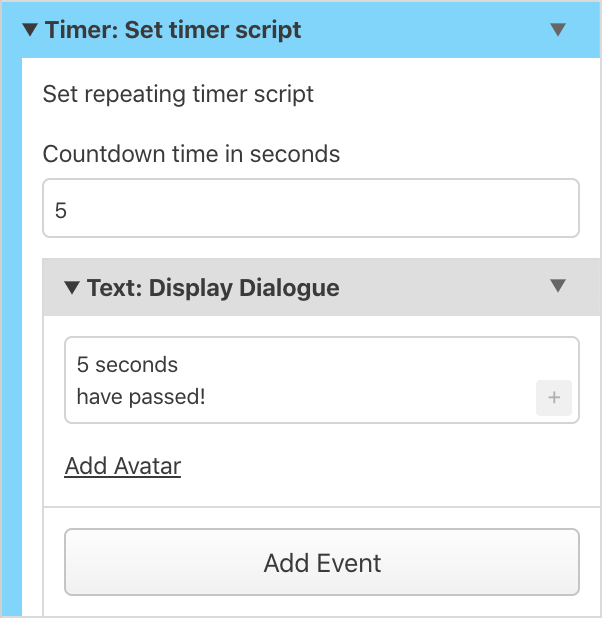
-
Timer: Restart Timer
Reset the countdown timer back to zero. The script will call again after the time specified originally.

-
Timer: Disable Timer Script
Remove the timer script so it will no longer be called.

Game Data Events
-
Game Data: Save
Save the current game data.

-
Game Data: Load
Load the previously saved game data.

-
Game Data: Clear
Remove any previously saved game data.

Miscellaneous Events
- Comment
Allows you to leave notes within your scripts. Provides no functionality in-game. The text you type automatically gets set in the event title, so you can collapse the comment and still read its content.

You can also use the event dropdown menu to disable and reenable any event.
Disabled events will be skipped when run in game.
